Countertop Support Brackets


Mantel Brackets


Metal Shelf Brackets


Floating Brackets


Resources

- Corbel Installation
- Shelf Bracket Installation Guide
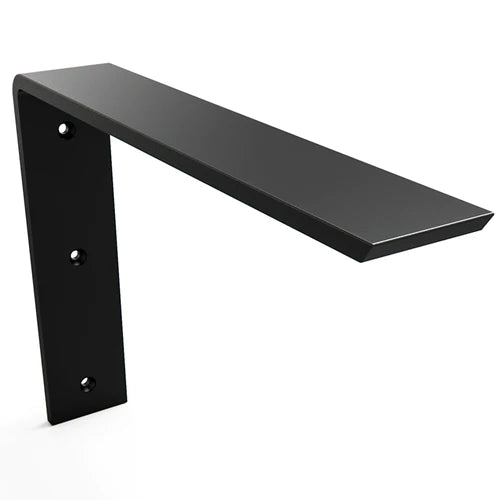
- Standard Front Mount Countertop L Bracket Installtion
- Hidden Island Countertop Bracket Installation
- Hidden Granite Countertop L Bracket Installation
- Hidden Granite Countertop Flat Bracket
- Floating Countertop Wall Bracket Installation
- Hidden Center Mount Countertop Bracket - Knee Wall
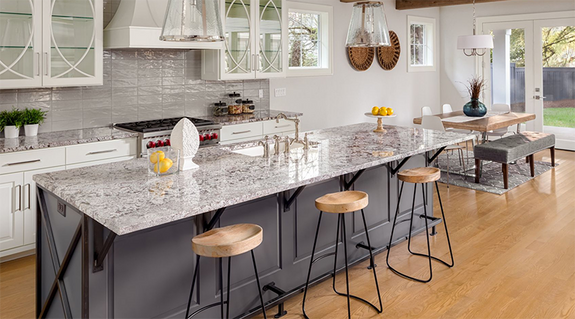
Photo Gallery
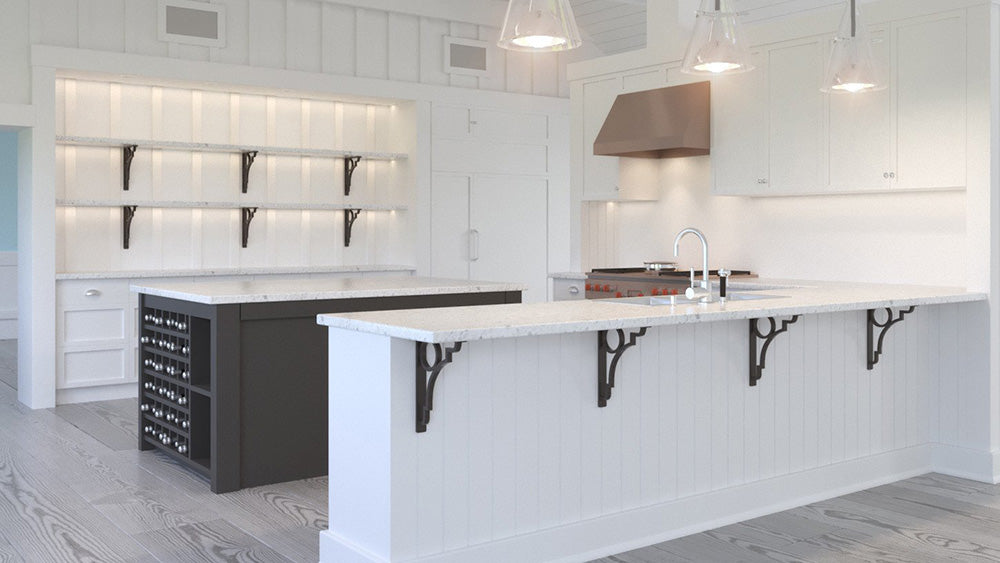
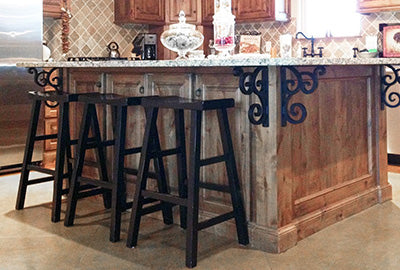
Check out the inspiration!
Installation Instructions - Standard Front Mount Countertop L Bracket
Installation Instructions
- Use the correct tools.
- Wear protective eye wear & proper safety equipment.
- When using tools or modifying anything follow manufactures instructions & user manuals.
- Always use common sense & follow good construction practices.
- Ask a professional when installing brackets for load bearing applications.
- Always mount brackets to a structure that is able to support the brackets and the weight that my be applied to it.
- Any use of this product in a way other than wha t it is intended for is not recommended.
- Shop Standard Front Mount Countertop L Bracket
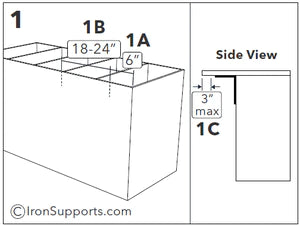
- Measure and mark the appropriate mounting locations on the face of the
wall or cabinet boxes.1A. Start at 6” inches in from the edges.
1B. Space remaining brackets 18” – 24” apart.
1C. No more than 3” past the edge of the bracket should be unsupported. -
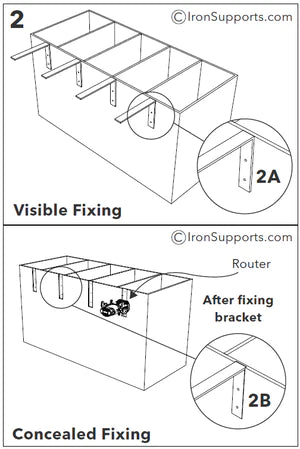
Choose how you’d like your iron supports to be installed:
2A. Visible Fixing: the brackets are visible and fixed directly onto the joinery/substrate2B. Concealed Fixing: a rebate is created in the joinery/substrate, making it sit flush
For a visible fixing, go straight to Step 3.
For a concealed fixing, you can do one of the following,
A: Fur out the wall or base the thickness of the brackets and apply finished substrate over the top
B: Create a rebate in the substrate with either of the following methods
POWER TOOLS: Use a Top Bearing Flush Trim router with a 1/2” deep cutting length and cut a rebate into the substrate the same height as the height of the iron support.
MANUAL TOOLS: Use a hand saw and cut along the substr ate to a depth of 1/2”, making the height of the rebate the same as the height of the iron support. Then using a wood chisel (1” is a good choice) remove the excess wood between the lines you just created
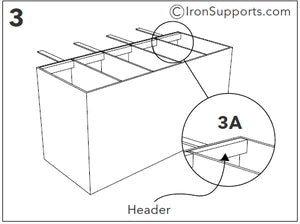
3A. IMPORTANT NOTE: You must make sure you are securing these brackets to a stable surface suitable for suppor ting the weight that will be applied. It is highly recommended that these brackets secured to a 2x4 or 2x6 stud or a header. Blocking behind cabinet carcases is a must. (see illustration for example of how to block cabinet base with a 2 x 4 or 2 x 6.)
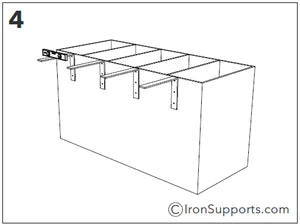
Place the bracket into the mounting channel and af fix the bracket to the cap using ALL of the included #12 wood screws.
PRO TIP: Pre-drill holes using a 9/64” bit. This will help ensure the wood doesn’t split.- Use a level to ensure the brackets are level. If necessary, use shims to make the bracket level.
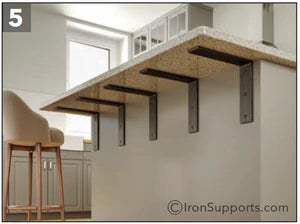
- Prior to setting the top in place, run a bead of high-quality silicone adhesive down the center of each bracket.
Disclaimer
Iron Counter Support Brackets can carry significant loads but they must be securely fastened to the mounting surface with continuous blocking, or double-stud construction. When mounting into wood studs ”toeing” into the stud will ensure that all screws are fully engaged. If toeing is not an option align the bracket so that 1 top and 1 bottom screw are fully engaged. When installing into metal studs you must block the steel studs using wood studs by either piggy backing or sliding a wood stud into the C channel metal stud.
Weight capacity is based on evenly distributed static loads.
Bracket spacing is based on the weight being applied and the countertop material being used. Different countertop material can carry different spans. Consult your countertop supplier if you have any questions or keep your spacing at no more than 24" on center be safe with any application.
Join Our Mailing List
Shopping Cart
×Taxes and shipping calculated at checkout
Exact shipping dates and delivery date estimates are calculated on the next page based on your delivery address.
Your cart is empty.