






Photo Gallery
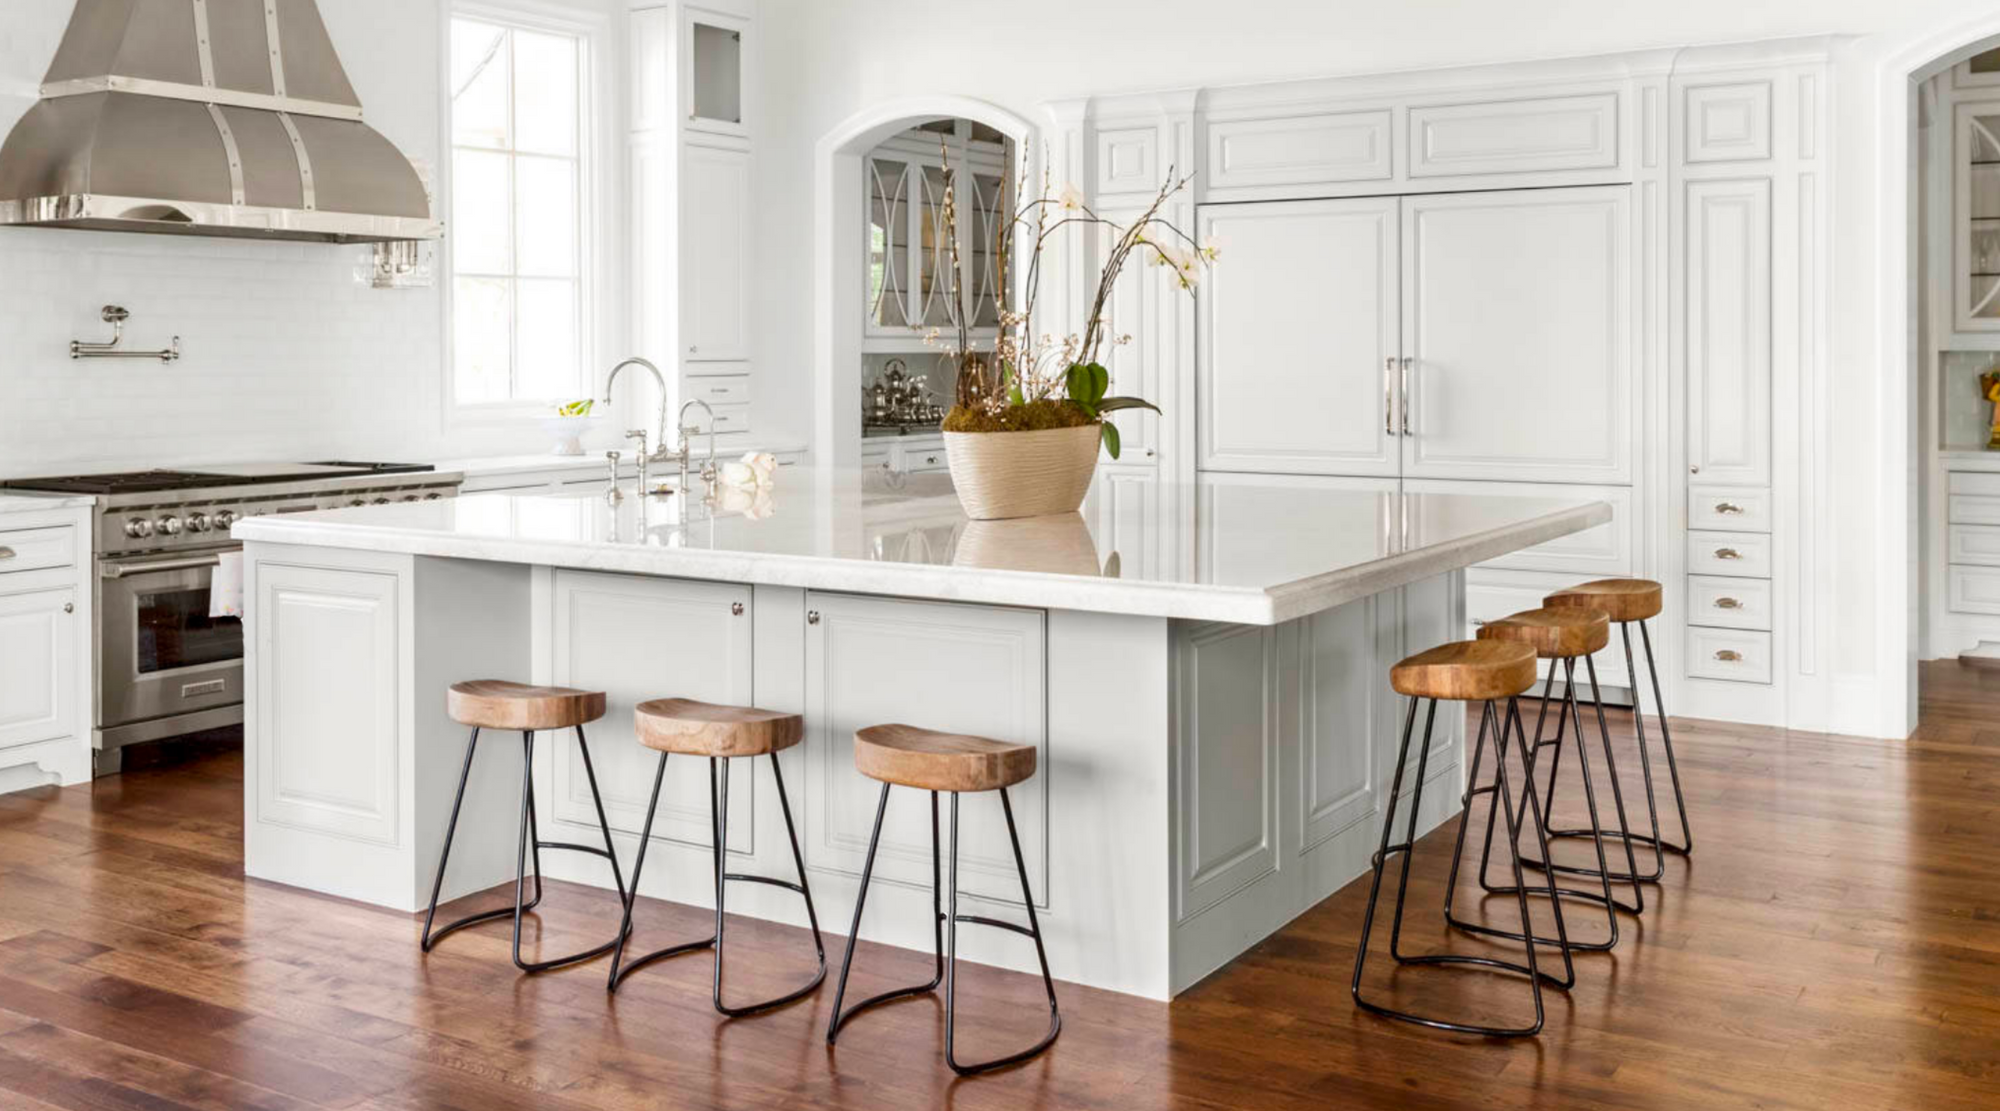
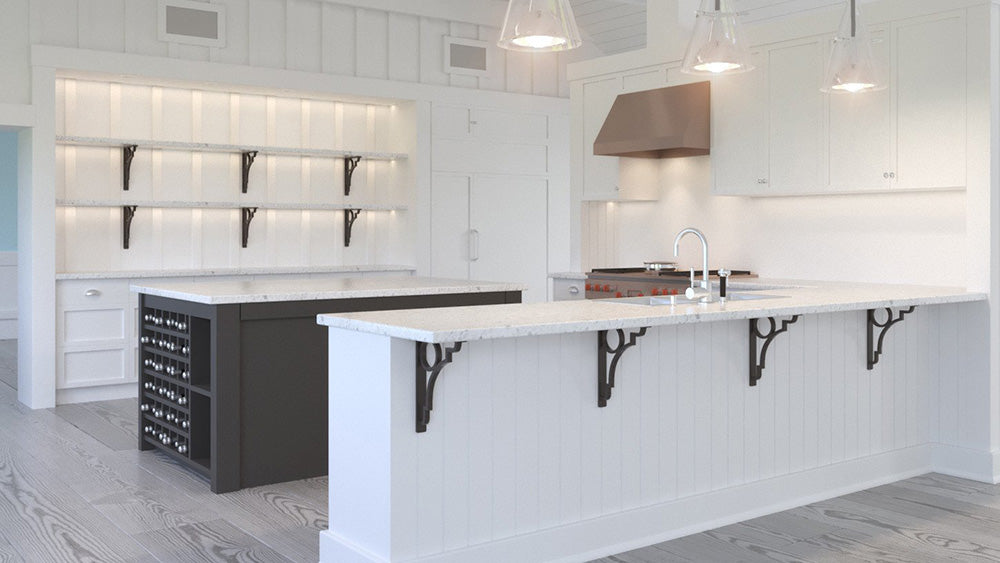
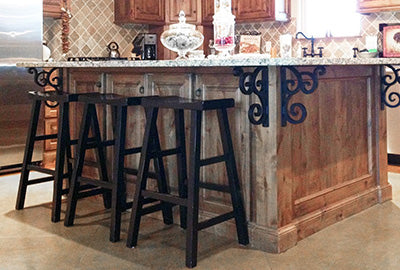
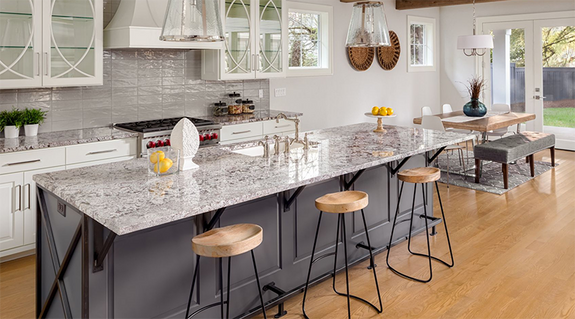
Check out the inspiration!
Invisible support for granite, quartz, stone, and wood countertop overhangs on knee walls, pony walls, and raised bars - recessed into the wall cap so nothing shows.
This guide walks you through installing your Hidden Granite Countertop Flat Brackets with clarity and confidence. Each step is clearly outlined with the tips and safety notes you need for a secure, professional installation — whether you're a seasoned contractor or tackling this as a DIY project. Before you begin, review all the steps and double-check that you have the necessary tools and fasteners.
Shop Hidden Granite Countertop Flat Brackets →

Specifications, sizing and quantity tables, videos, and every product document live on the product page.
View Product Page →Questions?
hello@ironsupports.com
(888) 971-3771 · Mon–Fri 8am–5pm CST

(1) Gloves (2) Safety Glasses (3) Measuring Tape (4) Pencil (5) Bubble Level (6) Phillips Screwdriver (7) Mallet (8) 1" Chisel (9) Drill with 9/64" Bit (10) Hand Saw (11) Caulking Gun (12) Hand Router with ½" Top-Bearing Flush Trim Bit (optional)

Measure and mark the bracket positions along the cap of your knee wall or pony wall. Start 4–6" in from each end of the countertop, then space the remaining brackets evenly between 16" and 24" apart.

Create a ½" deep recessed channel for each bracket so it sits flush with the top of the wall. Power tools: use a hand router with a top-bearing flush trim bit set to ½" and remove the marked area. Manual tools: cut along the marked lines with a hand saw to a depth of ½", then remove the material between the cuts with a 1" wood chisel and mallet.

Place the bracket into the channel and align it. Secure it with all 4 included #14 x 2½" Phillips Flat Head Wood Screws driven through the countersunk holes into the wall cap.

Use a bubble level to confirm each bracket is level and flush with the cabinetry. If a bracket is off, loosen the screws slightly, shim as needed, and re-tighten. Every bracket across the span should sit at the same height — an uneven bracket creates a stress point on the countertop.

Before setting the countertop, run a bead of construction-grade silicone adhesive down the center of each bracket’s top face. The adhesive keeps the top from shifting and dampens vibration. Use a silicone rated for your countertop material.
Carefully lower the countertop onto the brackets with even overhang on all sides. Confirm it sits level, then allow the adhesive to cure per the manufacturer’s instructions (typically 24 hours) before applying heavy loads.
Mounting surface. These brackets are engineered to support significant loads but must be properly installed to perform safely. The wall cap must be backed by continuous solid blocking or double-stud construction so every fastener is fully embedded in solid wood. Do not over-tighten or strip the screws. For metal studs, reinforce by piggybacking a wood stud or inserting wood into the C-channel.
Spacing. Maintain 16"–24" on center. Bracket spacing depends on the weight being supported and the countertop material — different materials have different span strengths, so consult your countertop supplier if you are unsure.
Need CAD/STEP/DWG files? Join Contractor Plus+ for engineering files, trade pricing, and priority support.
Taxes and shipping calculated at checkout
Exact shipping dates and delivery date estimates are calculated on the next page based on your delivery address.
Your cart is empty.