






Photo Gallery
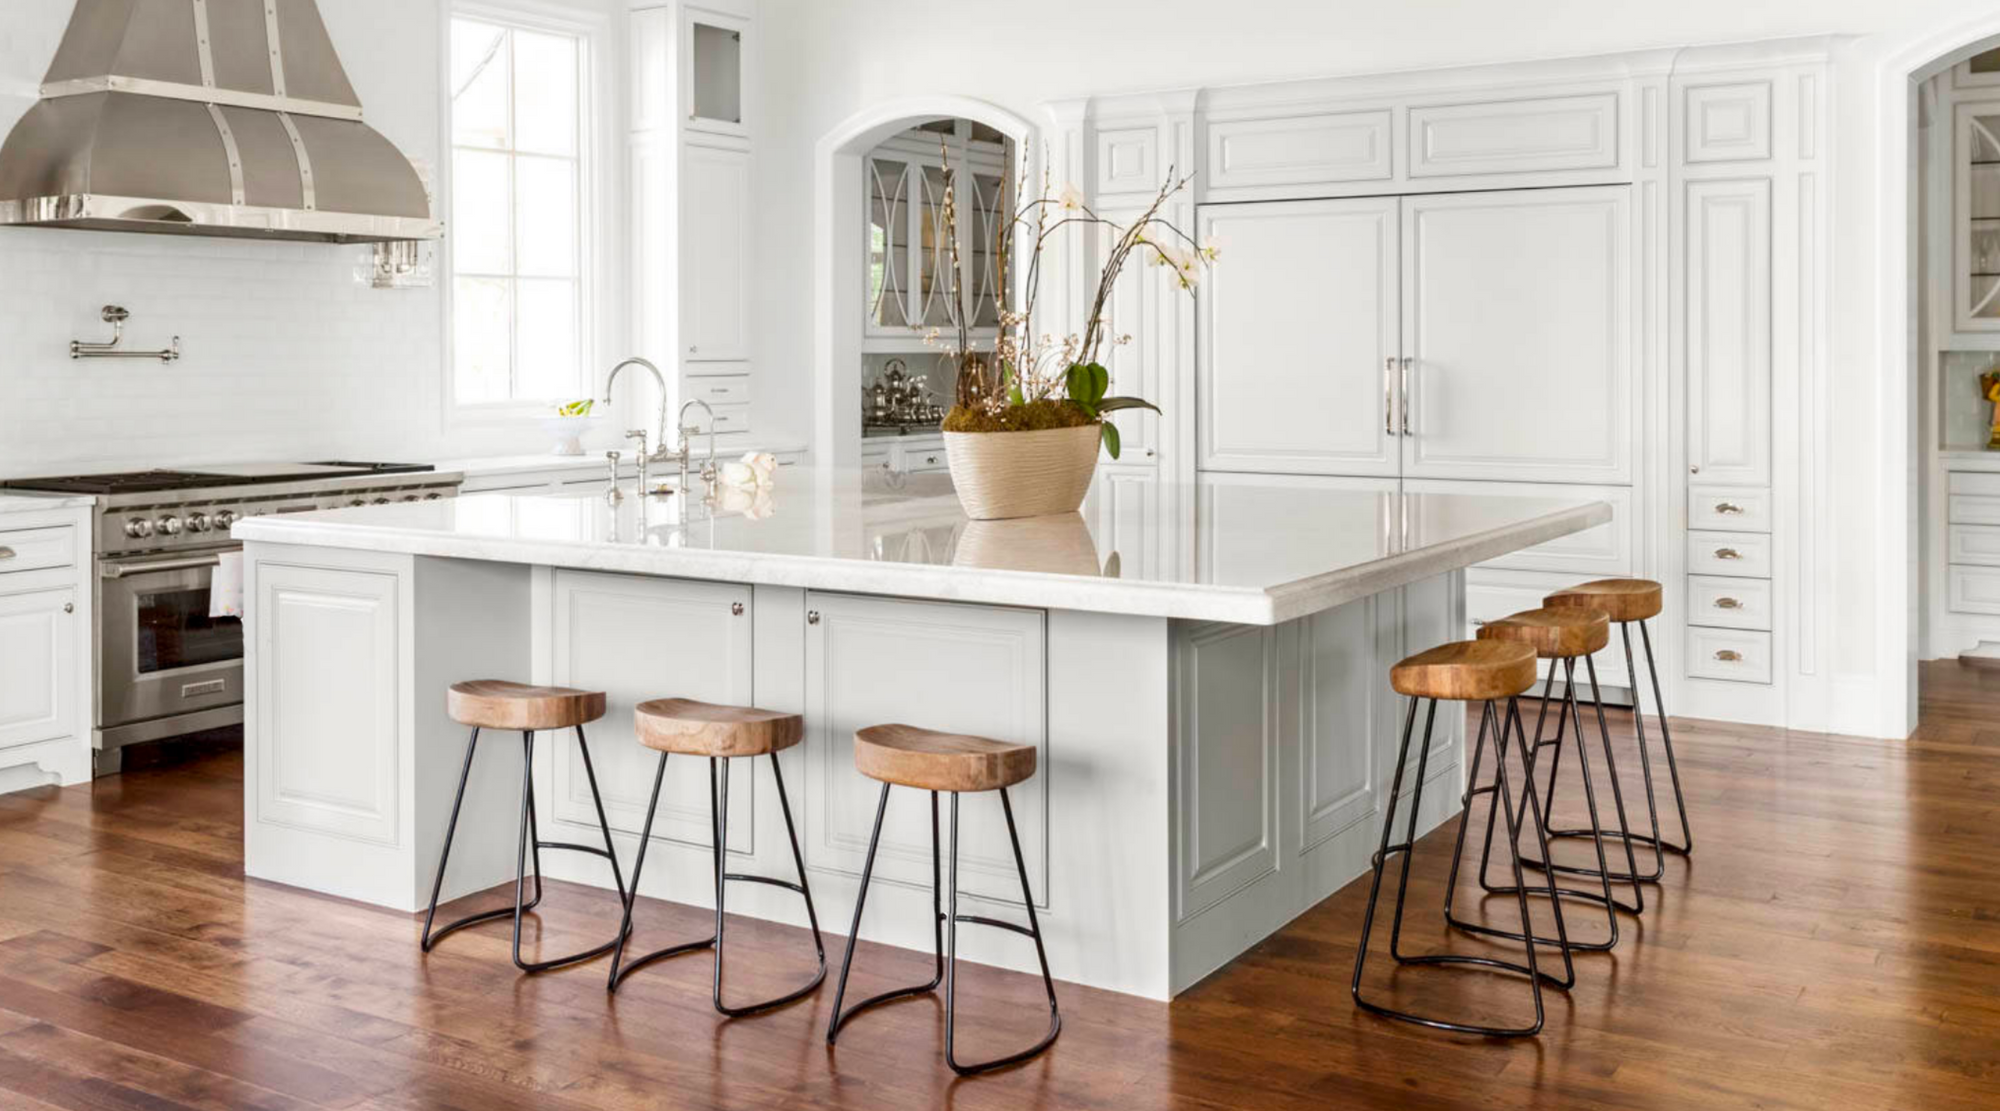
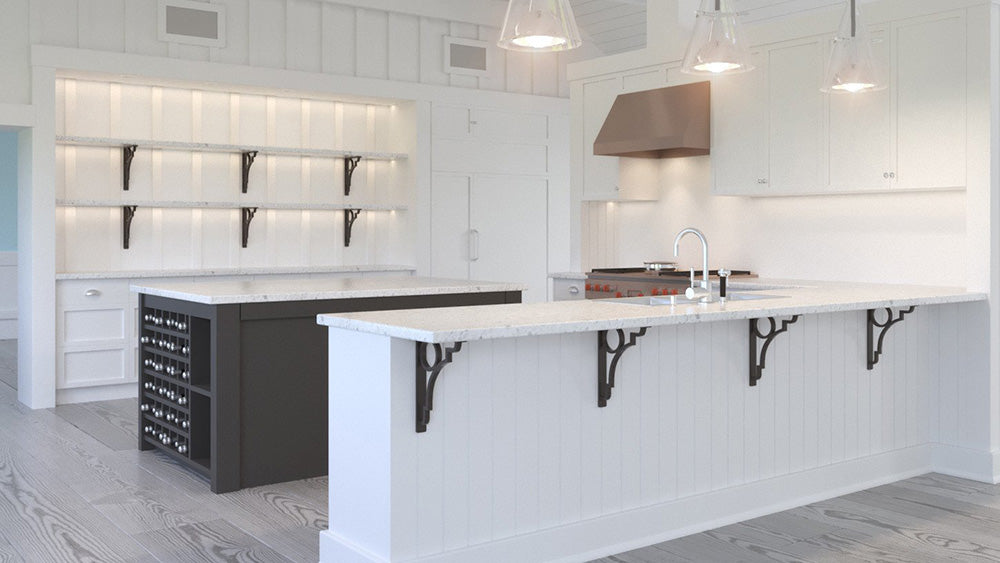
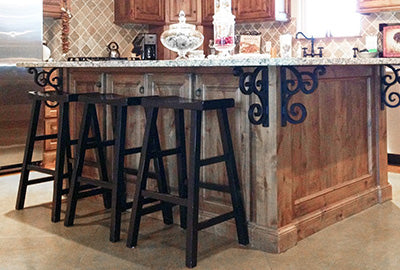
Check out the inspiration!
Hidden in-wall support for floating countertops, bars, desks, vanities, and shelves. The bracket bolts to the side of the stud before the drywall goes on, so nothing shows below the top.
This guide walks you through installing your new Floating Countertop Wall Brackets. The bracket mounts inside the wall and bolts to the side of the stud before the wall is finished, so the top rests on solid steel with nothing showing underneath. Before you begin, review all the steps and confirm you have the required tools, fasteners, and safety equipment on hand.
Shop Floating Countertop Wall Brackets →

Specifications, sizing and quantity tables, videos, and every product document live on the product page.
View Product Page →Questions?
hello@ironsupports.com
(888) 971-3771 · Mon to Fri, 8am to 5pm CST

(1) Gloves (2) Safety Glasses (3) Measuring Tape (4) Pencil (5) Bubble Level (6) 7/16" Socket Driver (7) Impact Driver with 7/16" Socket (optional) (8) Drill with 3/16" Bit for pilot holes (9) Hand Saw (10) Caulking Gun (11) Laser Level

Select, measure and mark the mounting locations on your wall at the finished height of your countertop. Each bracket mounts to the side of a wall stud. Place one bracket 4" to 6" from each end of the countertop (4" recommended), then one on each stud between.

If the wall is already finished, remove the drywall or other wall covering where the brackets will mount to expose the studs.

Hold the bracket against the side of the stud and drill 3/16" pilot holes. Fasten it with the 6 included 1/4" x 2.5" lag screws.

Once the brackets are fastened, hang drywall or your chosen wall material around them and finish the wall as you normally would.

Before setting the top in place, run a bead of high-quality silicone adhesive down the center of each bracket.

Set the countertop onto the brackets and allow the adhesive to cure before loading.
Steel studs cannot carry this bracket on their own. Each one must be reinforced with a wood stud from top to bottom before the brackets are mounted.

Fasten a 2x4 or 2x6 to the side of each steel stud with screws, and secure the wood stud to the top and bottom of the steel channel.

With the wood studs in place, mount each bracket to the side of the wood stud and follow Steps 1 to 6 above.
Mounting surface. Mount each bracket to the side of a solid 2x4 or 2x6 wood stud, or to continuous blocking, with all 6 included lag screws. The framing must run floor to ceiling. Half walls must be secured beneath the sub floor, ideally tied into the floor joist or anchored into concrete. Steel studs must be reinforced with wood backing from top to bottom. Do not over-tighten or strip the lag screws.
Spacing and overhang. Space brackets 16" to 24" on center, one on each wall stud. Keep unsupported countertop to no more than 3" past the end of the bracket.
Light duty only. Wood shelves and mantels carrying less than 100 lbs in total may use a bracket on every other stud (32" on center with 16" framing). The rated working load does not apply at that spacing.
Load type. The rating assumes an evenly distributed static load. Concentrated edge loads, such as leaning or sitting on the front edge, require tighter bracket spacing.
Need CAD/STEP/DWG files? Join Contractor Plus+ for engineering files, trade pricing, and priority support.
Taxes and shipping calculated at checkout
Exact shipping dates and delivery date estimates are calculated on the next page based on your delivery address.
Your cart is empty.